|
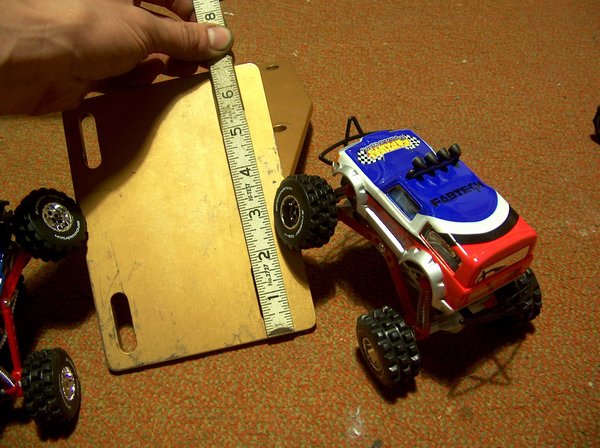
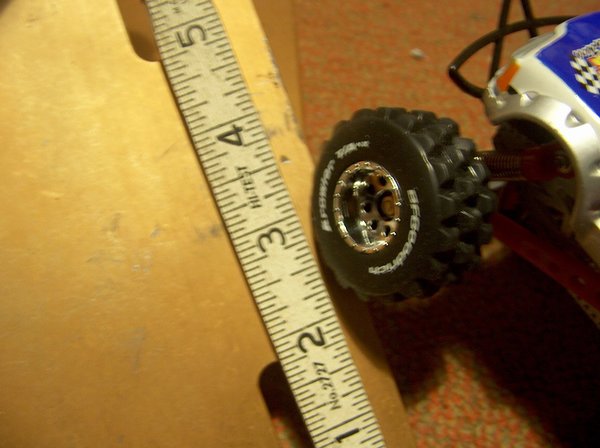
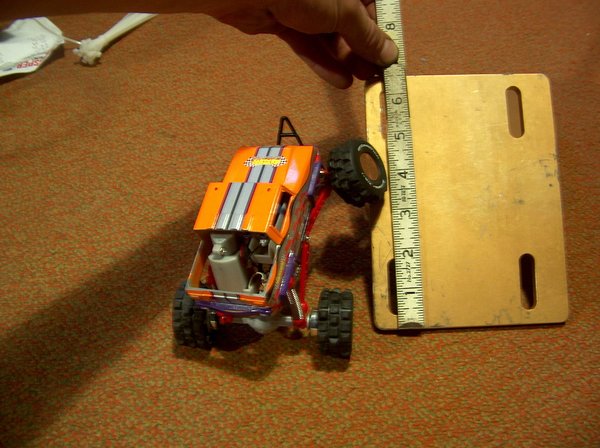
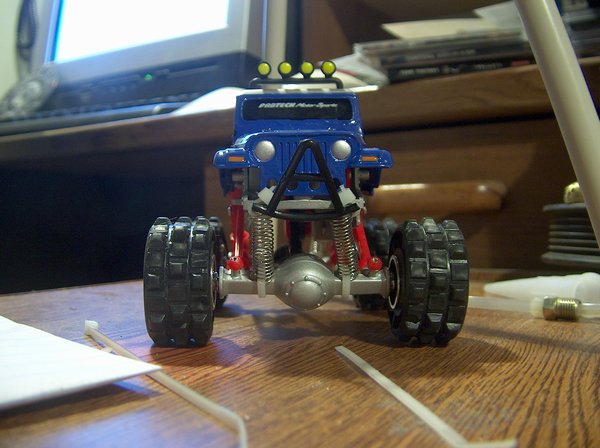
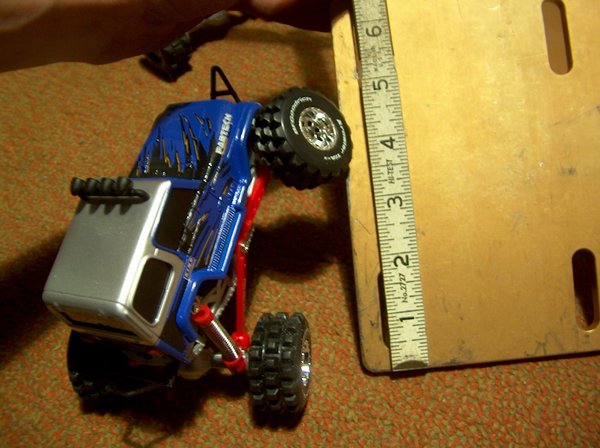
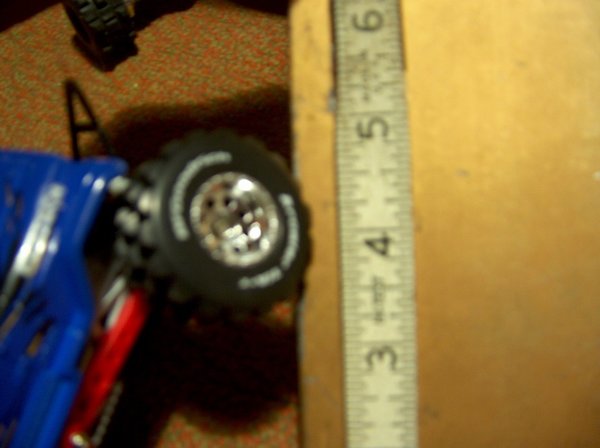
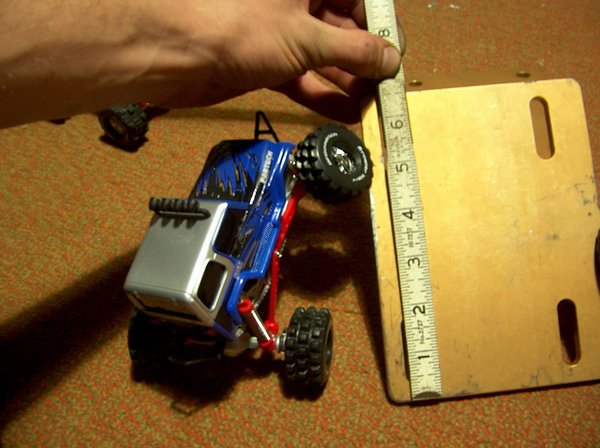
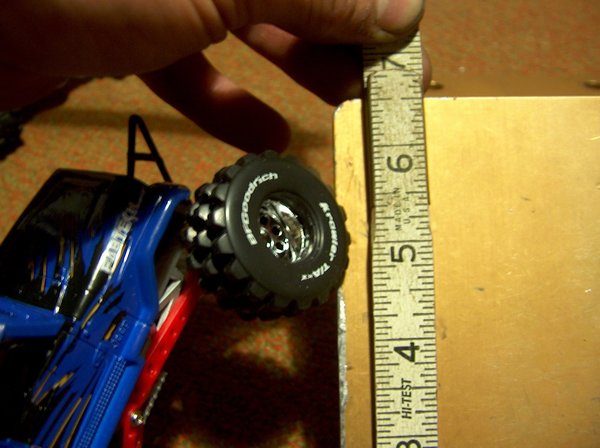
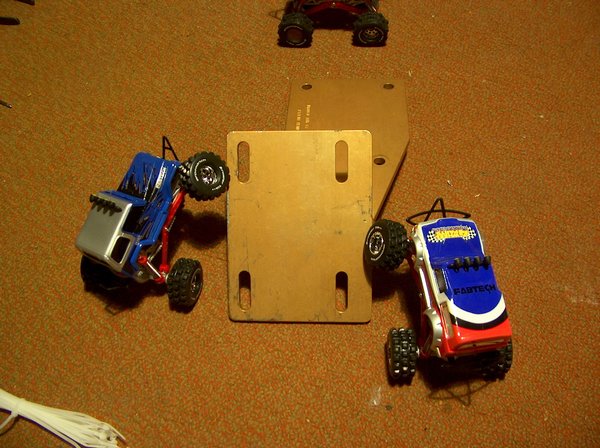
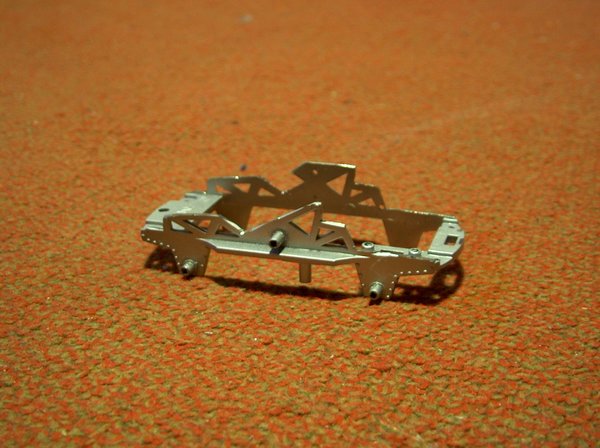
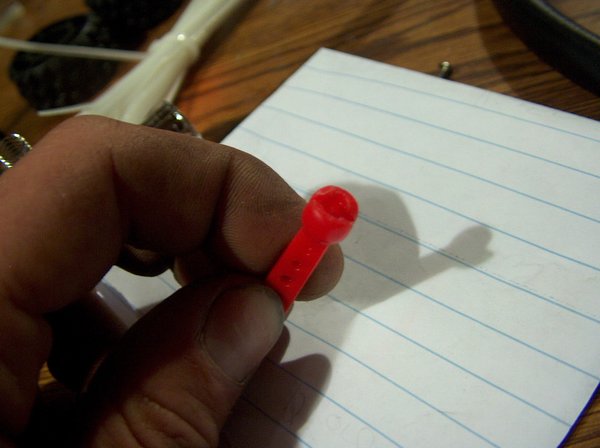
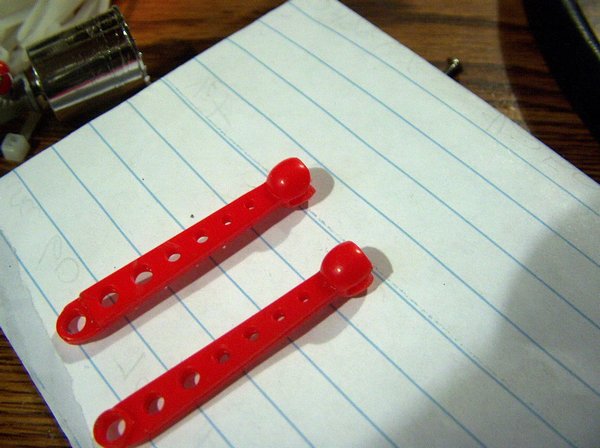
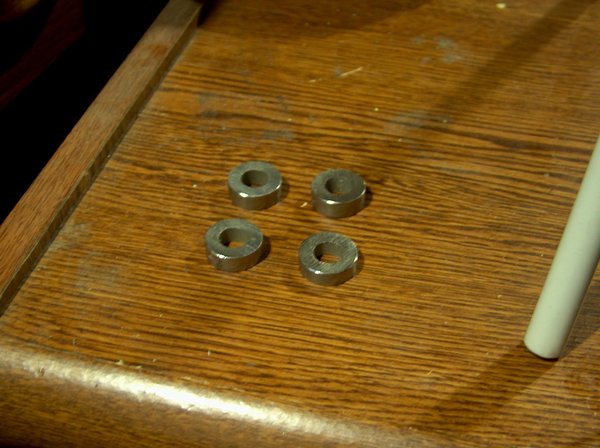
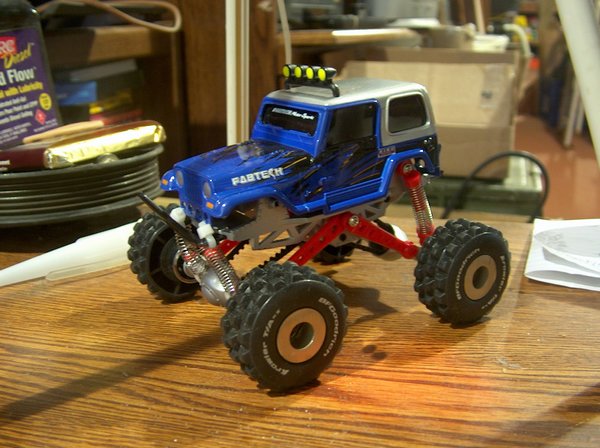
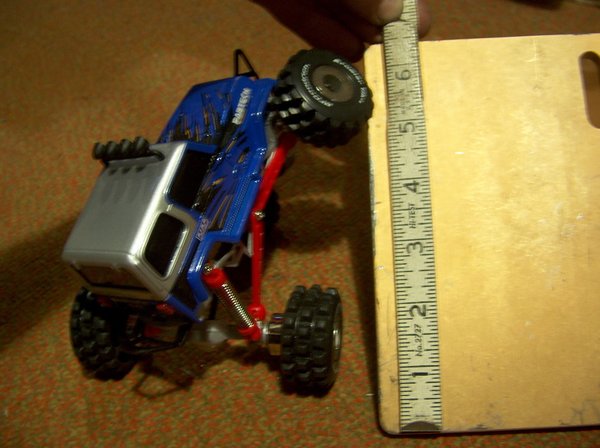
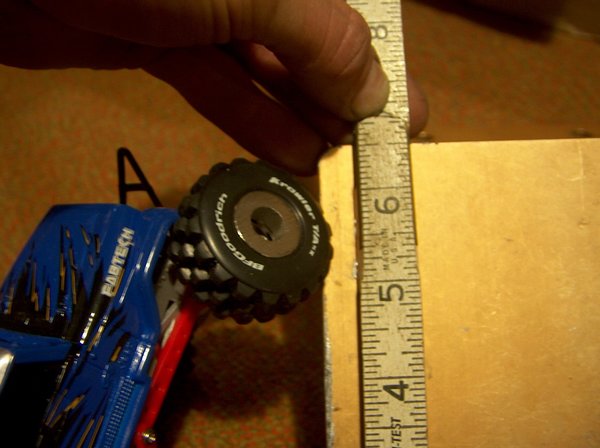
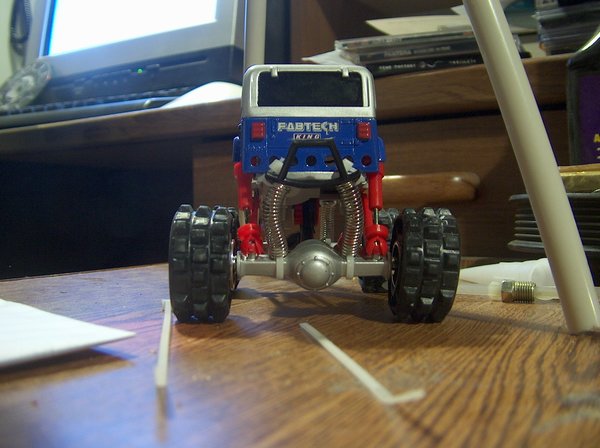
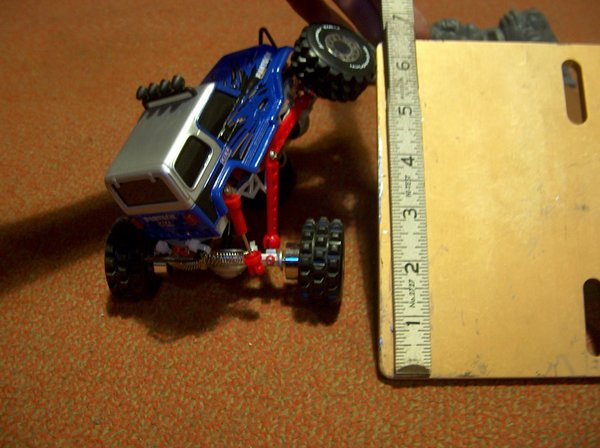
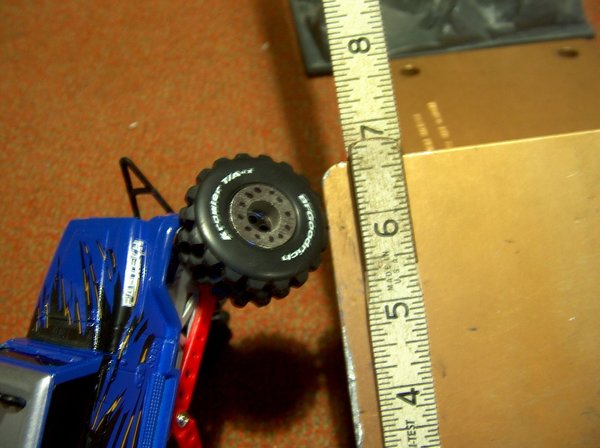
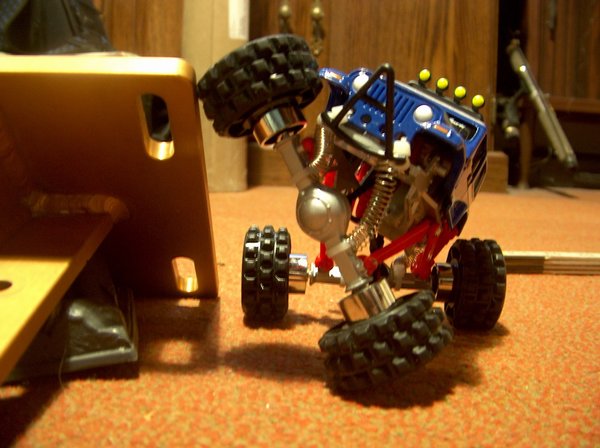
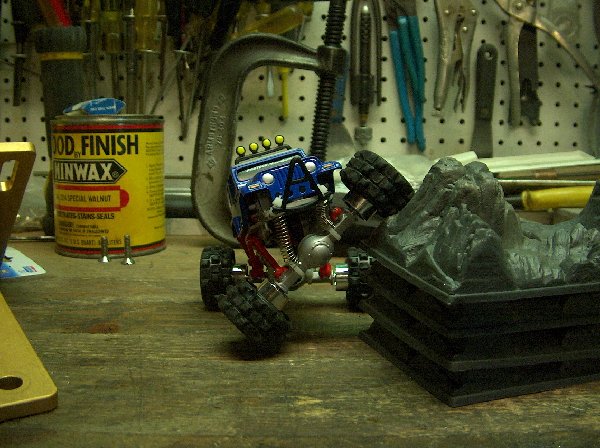
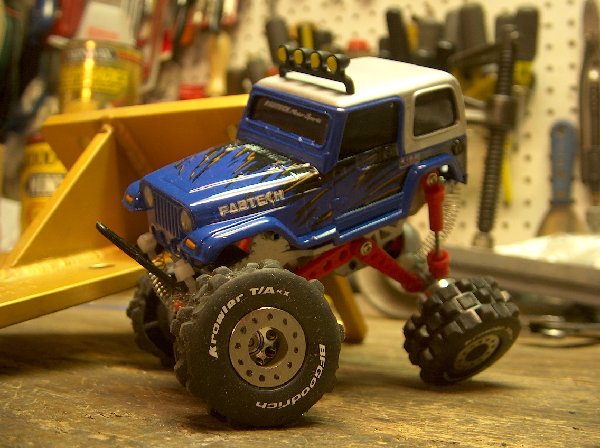
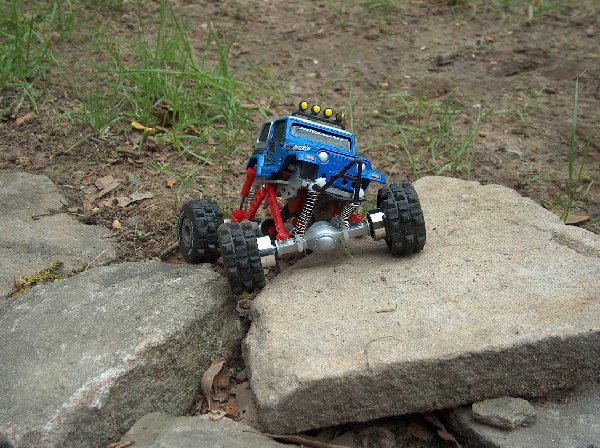
wally crawlers unleashed! So i said i wanted to keep my other one stock, but i just couldnt do it. I knew there was a way to get it to flex better than i was able to with my orange one, so i decided to try something different. The first two pics show the flex capable from a 'stock' crawler (2.75"). (For reference, that is my OBA bracket for the bronco, which meausures in at 37ş.) The third pic shows what the orange one is capable of (4"). The stock 'coilovers' work ok, but bind up rather quicky. So, the logical solution seems to be to just remove them. But i dont like the way the look without coils. Plus, when you remove them, the radius arms bind on the frame almost immediately. So, a different solution had to be devised. The answer lied in removing the coilovers, but not the coils themselves. Enter pic#4, where i have attached the coils difectly to the axle and to the front bumper. However, this caused te front end to be too stiff, and it was just as tippy as before. So i chopped 4 coils off the top of each spring and now they work much better. Just doing this allowed me to ramp at approx 4.25" (pic 5 & 6), and thats without pushing the tires out on the rim. Push them out and you get all they way up to 5"! Pic 9 shows the difference between this and stock, quite an improvement! There is still more flex to be found, though. The radius arms like to rub on the frame. So, while this much travel is possible, its unlikely as the crawler isnt heavy enough to get the arms to ride up the side of the frame. So the obvious answer is to clearance the frame (pic 10). ONce i put it all together, it worked better, but the radius arms appeared to bind at full stuff/droop, so i rounded the outside of each arm to allow them to rotate more on the axle housing (pic 11 & 12) You cant round both sides though as it will cause the axle to 'wrap' when the suspension loads up. Next up was wheel spacers. Everyone puts 3 or 4 pennies into the wheel to space it out and add weight to the axle, but pennies are lame. So i came up with something better. 3/4" steel tube, 3/16" wall, 1/4" thick (pic 13). Its a hair wider than 3 pennies, weighs a tad bit more, and looks alot cooler (pic 14)! Now with all this done, it ramps at 5.5" (pic 15-16)! But there still more that can be done! Next up was to change the rear setup over to match the front (pic 17). With that done, it now ramps at over 6" (pics 18-22)!!! There was a small side effect of the rear coils, it seems that the rear will flex so far that the drive belt slips on the drive gear, so i actually had to reinstall the coilovers (sans coils) to work as rudimentary limiting straps to prevent this from happening. The final outcome? Well, with the coils set up like this, it flexes alot better. It actually travels like a rear 4x4 now, and flexes enough to drive over the front of another crawler without rolling on its side. Being able to change the suspension travel from 2.75" to a little over 6" get me over twice the travel available, and it comes alot easier, so the crawler actually twists around on obstacles instead of rolling over or backwards. It is quite the improvement over stock, and in my opinion works better than a crawler that has had it coilovers completely removed. |
 |
 |
 |
 |
 |
 |
 |
 |
 |
 |
 |
 |
 |
 |
 |
 |
 |
 |
 |
 |
 |
 |
 |
 |
| back |